


Hello readers! Ha, I know, the title sounds interesting, yes?
Yup, gonna share with you guys how I encapsulated (and consume) my own placenta. Google it, many mothers have done it, for a fee, but I did it on my own - for free. Ok, hubby helped to do it actually.
I'm sharing this to show that this is do-able. For readers who want to do this after birth, you can do on your own at home too ya.
After the doctor birthed my placenta, hubby put it into the ice box, took it home, cleaned it, and put it into the freezer. No time to do it on the same day, and he only had time to do it two weeks later.
Not gonna show you how the whole thawed placenta looks like, scared you all faint, haha. But the first step is thaw the placenta, then steam it for about 20-25 minutes.
Then cut into small chunks, like below.
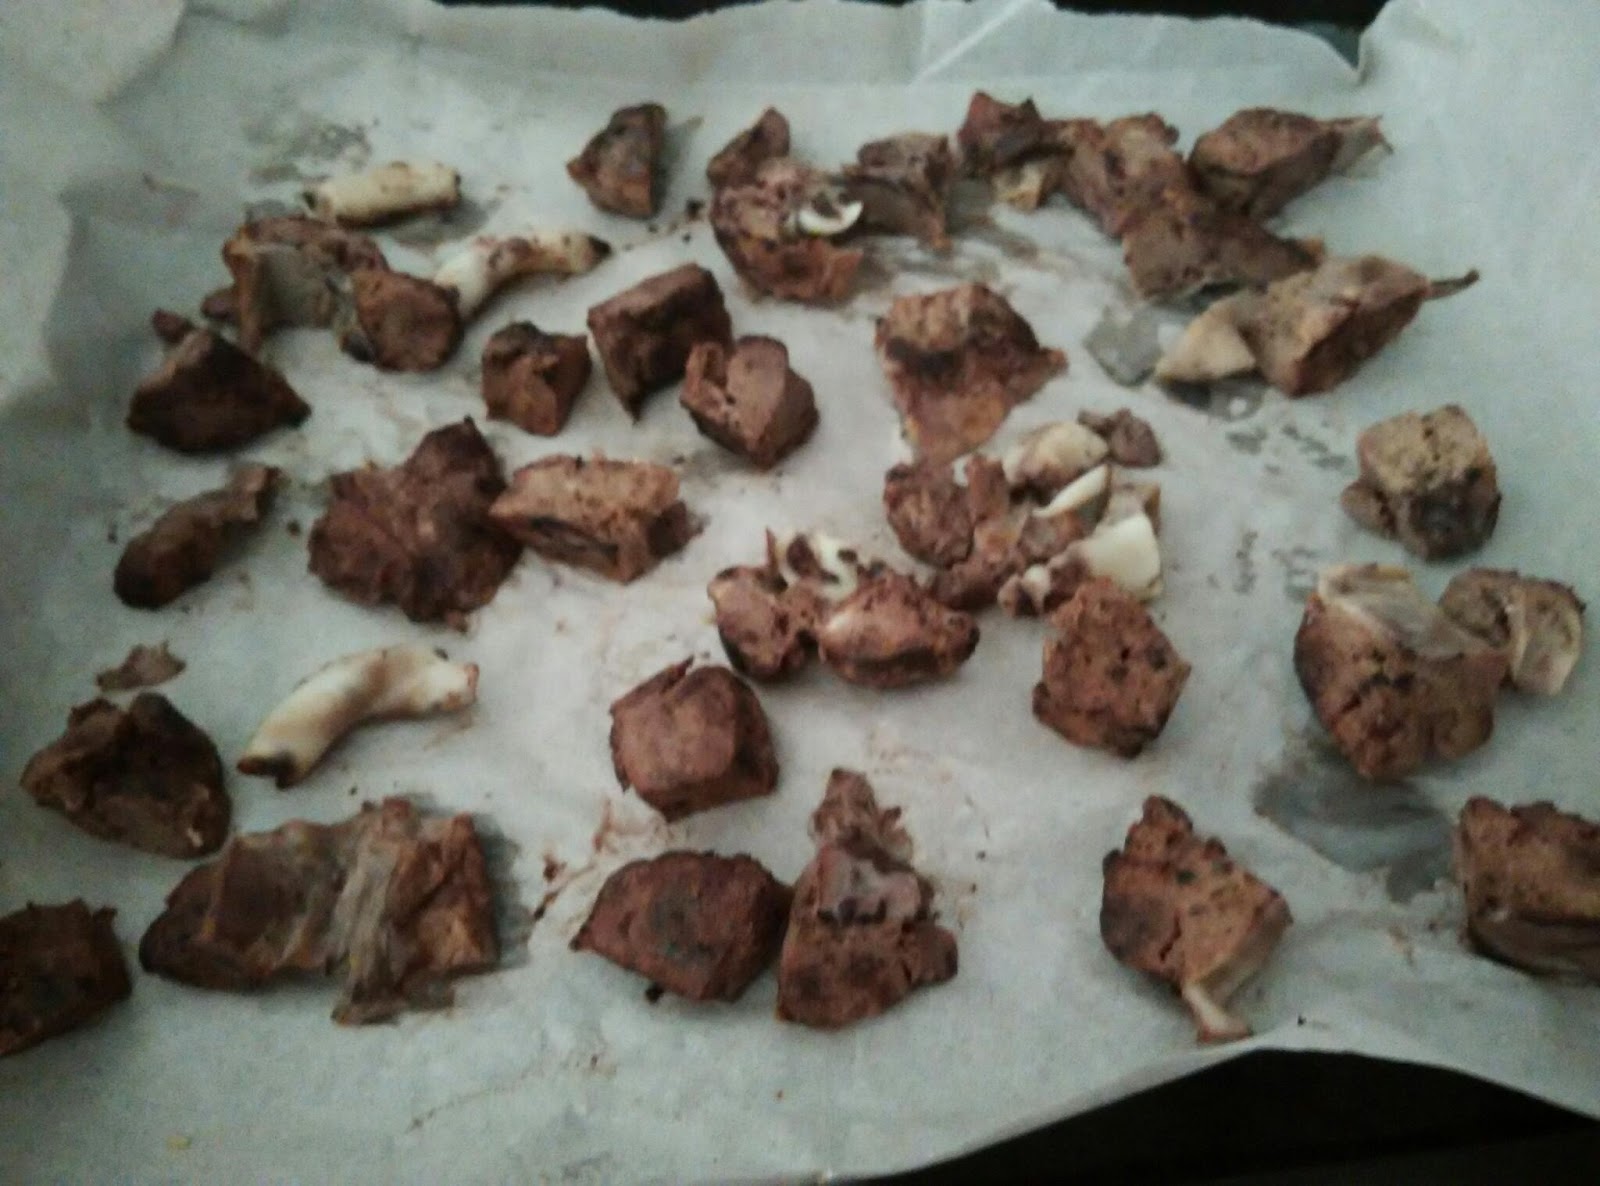
Set the oven to the lowest temperature, mine around 100 degrees, and 'bake' to dehydrate it, but be careful not to burn it. Make sure they turn hard (and dehydrate completely). After 5 hours baking, this is how it looks like.

Blend into powder.

Now, it looks like this.

Now, go buy some empty capsules from the pharmacy, and encapsulate them.

Benefits of placenta encapsulation: Wounds heal faster, more energetic, produce more breast milk, lessen post partum depression. How true is it? Well, I took two capsules in the morning and I stayed up all night, eyes big big. Too energetic?